Job site photo documentation: how contractors use photos to prevent callbacks and win disputes
The right photos, taken at the right moments and saved on the job, settle most callbacks and disputes before they start. Here is the shot list by trade, where the photos should live, how they back up change orders and chargeback responses, and how to make the habit stick with your crews.

By The Revcore team
Reviewed by Hayden Mitchell, founder
Updated 12 min read
Quick answer
How do contractors use job site photos to protect against callbacks and disputes?
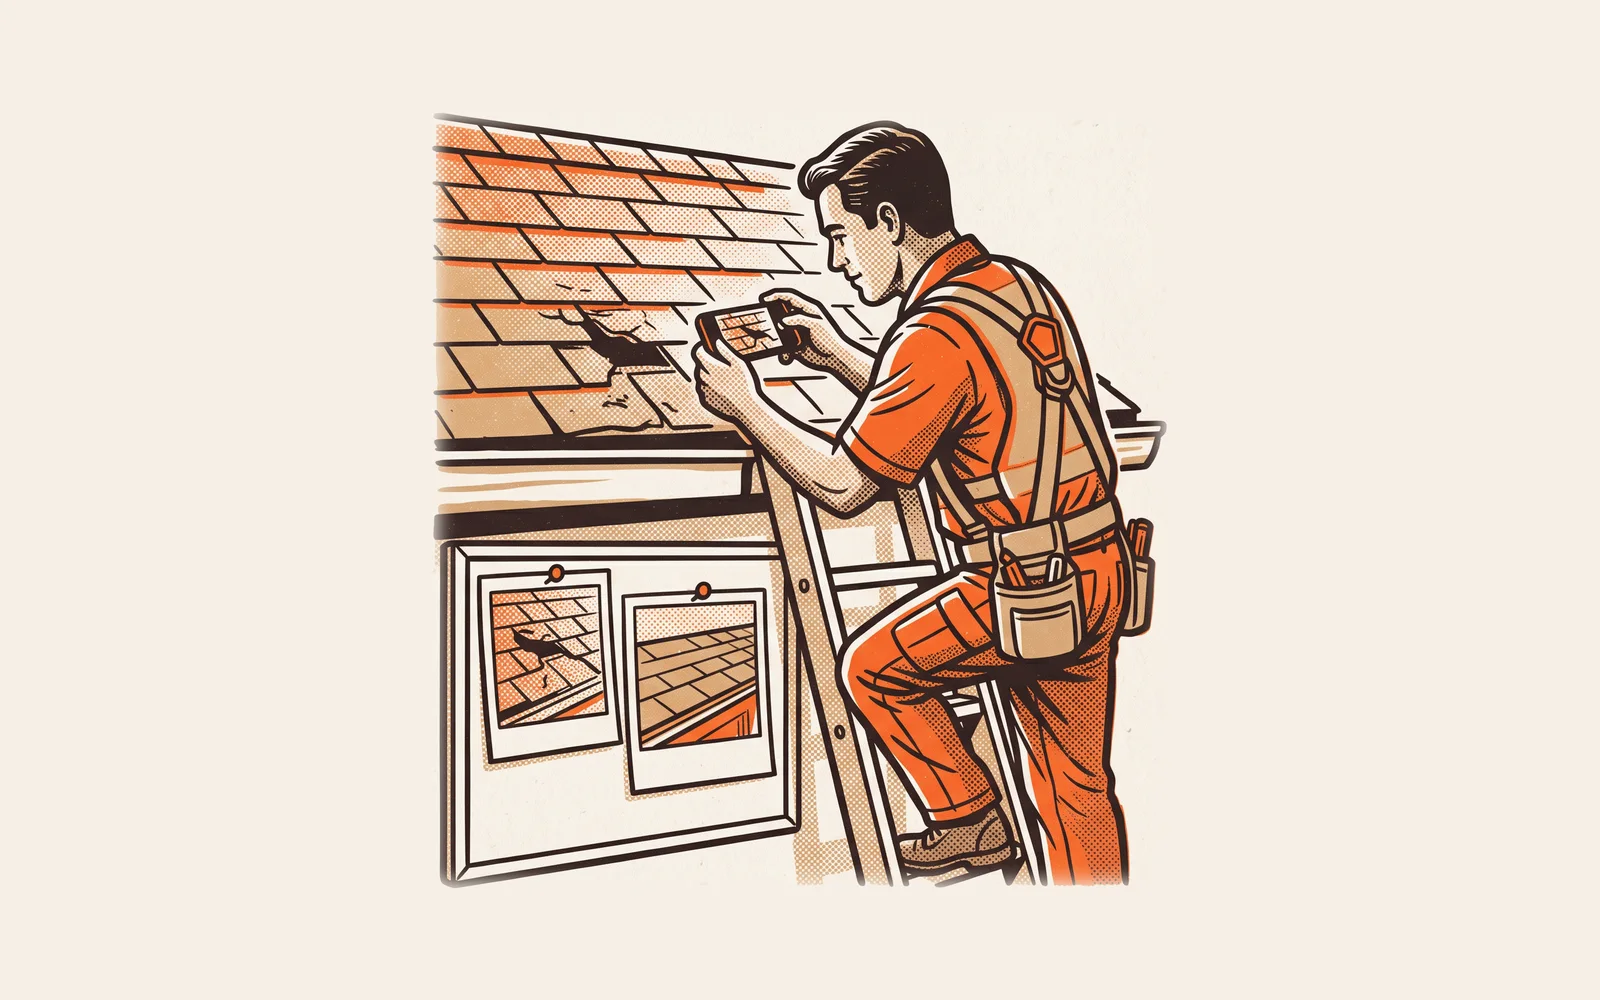
Take photos at four moments on every job: the existing condition before work starts, the work that will be covered up, anything that changes the scope, and the finished job with a clean site. Save them on the job record, not a phone. Those photos answer most callbacks, back up change orders and support chargeback responses.
Every contractor has a story about the callback that should never have been their problem. The homeowner swears the crack in the drywall was not there before. The water stain on the ceiling was clearly years old. The work was done right, but six weeks later there is a complaint, and now it is your word against theirs. Without proof, most owners eat the cost just to make it go away.
The fix is simple, and most crews still do not do it consistently. A small set of photos, taken at the right moments and attached to the job, turns an argument into a short conversation. Documentation is not about distrusting homeowners. Most callbacks come from honest confusion about what the house looked like before you arrived. Photos clear that up for everyone, including your own team.
Why does photo documentation matter so much for contractors?
Home service work has a problem most businesses do not: the most important part of the job is often invisible when it is finished. A roof hides its underlayment and flashing. A bathroom hides its waterproofing. A furnace install hides its venting runs and gas connections. When something goes wrong later, the only record of how that work was done is whatever you captured before it was covered.
Photos protect you in four situations that come up on every busy crew:
- Callbacks for pre-existing damage. The homeowner notices a scratch, stain or crack for the first time after you leave and assumes you caused it.
- Workmanship questions. A leak, a noise or a failure shows up months later and someone has to decide whether it is your install, the product or something else.
- Scope disagreements. The homeowner remembers the conversation about extra work differently than you do, and the invoice becomes the argument.
- Payment disputes and chargebacks. A homeowner disputes a card payment with their bank, and you need to show the work was done as agreed.
There is also an upside that has nothing to do with defense. Good photos make your office faster. The person answering the phone can see the job without driving out, the estimator can check a measurement, and the sales team gets a steady supply of real before and after images for proposals and reviews.
When should you take photos on a job?
You do not need hundreds of photos. You need the right ones at the right times. Build the habit around four moments and you cover almost every dispute that can come up.
Before you touch anything
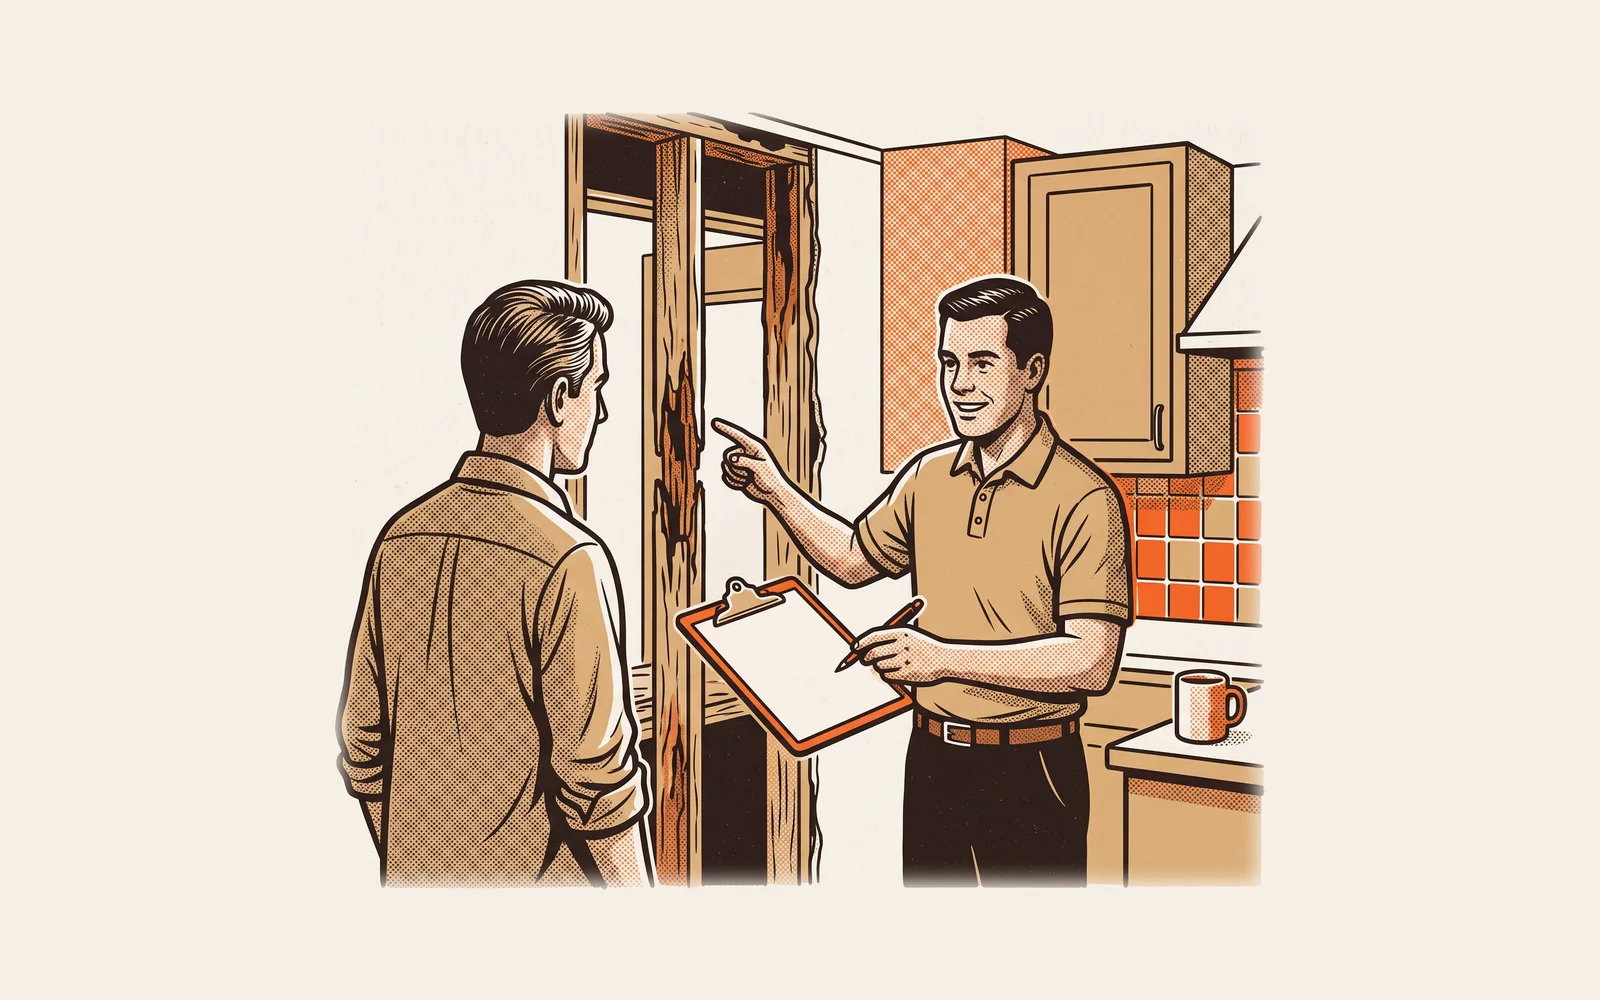
Walk the work area and the path to it. Photograph the existing condition, including anything already damaged: cracked tiles, stained ceilings, dented siding, scuffed floors along the route your crew will carry materials. Take one wide shot for context and close-ups of anything that looks worn.
Before the work is covered
Capture everything that will be hidden when the job is done: underlayment and flashing, framing and blocking, waterproofing, rough-in plumbing and wiring, duct connections, venting. This is the only record anyone will ever have of that work.
When the scope changes
The moment you find rot, hidden damage, old wiring or anything that changes the job, stop and photograph it before you open it further. That photo is what makes the change order believable to the homeowner.
After the job is finished
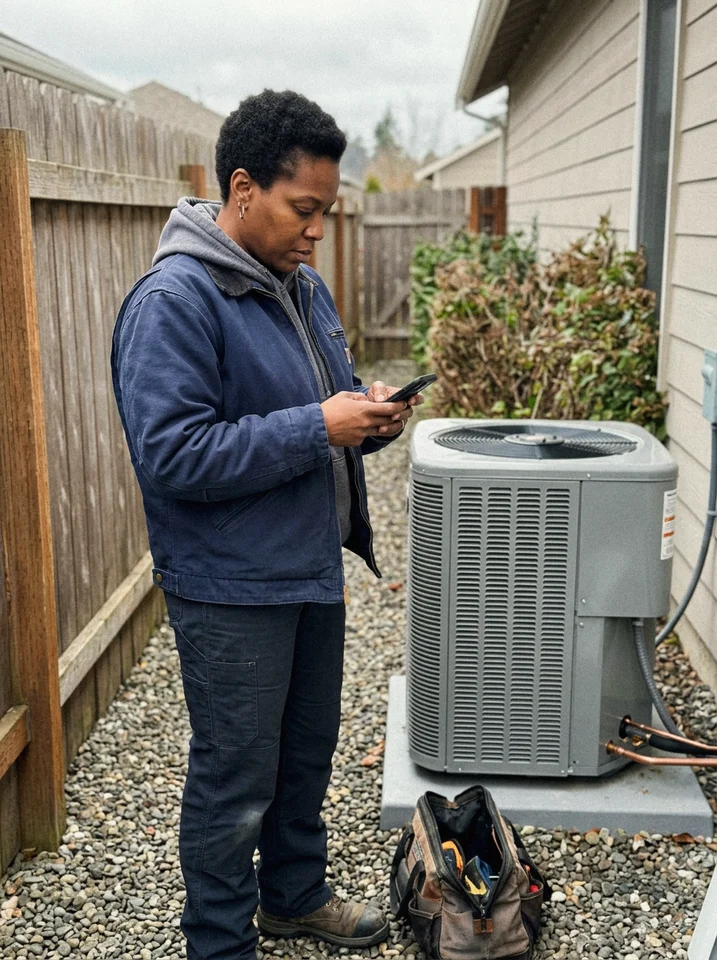
Photograph the completed work, the equipment labels and serial numbers, and the clean site, including the areas your crew walked through. If the homeowner is there, walk the job with them while you take these.
What photos should each trade take?
The four moments are the same for everyone, but the specific shots change by trade. Use this table as a starting shot list and adjust it to the work you do most. Keep it short enough that a crew lead can remember it without looking.
| Trade | Before | Before it is covered | After |
|---|---|---|---|
| Roofing | All roof planes, existing damage, gutters, landscaping and driveway | Decking condition, replaced sheets, underlayment, flashing at walls, chimneys and valleys | Every plane, ridge and vents, cleaned gutters, magnet sweep of the yard |
| HVAC | Old equipment and its data plate, existing ductwork, the path through the house | Line set, electrical connections, venting and condensate routing, duct sealing | New equipment and serial numbers, thermostat, startup readings, clean mechanical area |
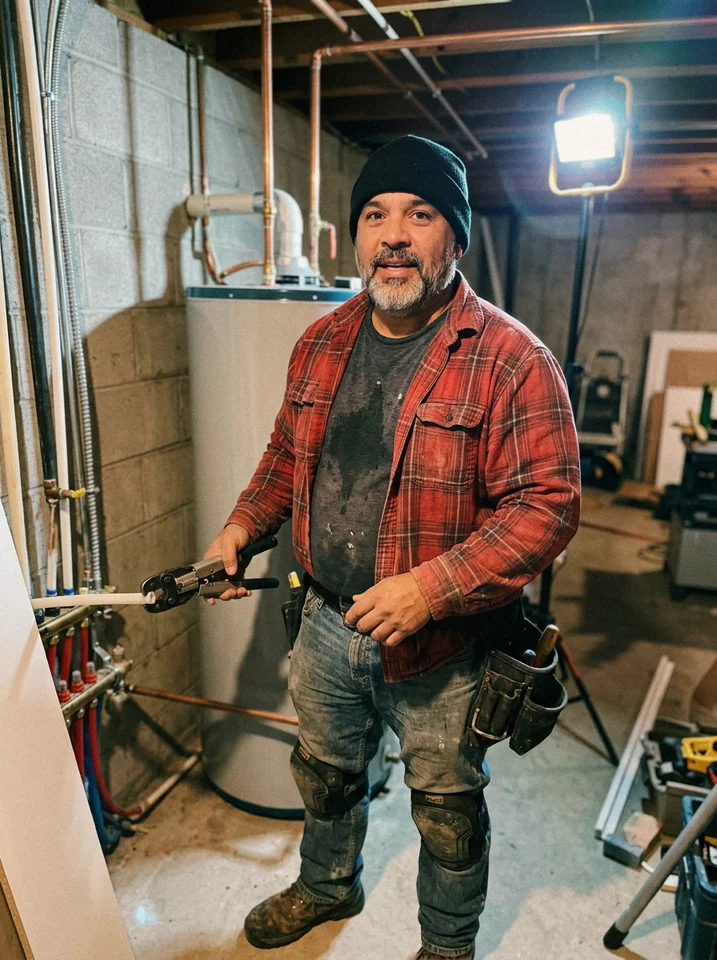
| Plumbing | Existing fixtures, visible leaks, water damage, shutoffs | Supply and drain rough-in, pressure test gauge, strapping, fire stopping | Finished fixtures, water heater label and venting, dry area under the work |
| Electrical | Panel with the cover off, existing wiring, any scorching or code issues | Rough-in wiring, box fill, grounding and bonding, labels | Finished panel with a completed directory, devices, patched openings |
| Remodeling | Every wall, floor and ceiling in the room, adjoining rooms and the walk path | Framing, blocking, insulation, shower waterproofing and its flood test | Finished room from each corner, fixtures and finishes, protected areas uncovered |
| Exteriors | All elevations, existing damage, trim, landscaping | Sheathing condition, house wrap, flashing tape at windows and doors | Every elevation, caulk lines, clean yard |
How do you take photos that actually hold up?
A blurry close-up with no context does not prove much. A photo is useful when someone who has never seen the house can tell where it was taken, what it shows, and when. A few habits make the difference:
- Wide, then close. Take one wide shot that shows where you are in the house, then the close-up. The wide shot is what connects the detail to this address.
- Show scale. Put a tape measure or a tool in the frame for cracks, rot and gaps so size is not up for debate.
- Keep it clean and lit. Use the flashlight in attics, crawlspaces and wall cavities. A dark photo is almost as bad as no photo.
- Capture labels. Model and serial numbers, material wrappers and data plates document exactly what went in.
- Add a short note. One line such as 'existing crack, north wall, before demo' saves a lot of guessing later.
- Do not edit or filter. Leave the original as it came off the camera. Cropped or filtered images invite questions about what was changed.
Where should job site photos be stored?
Photos buried in a tech's camera roll might as well not exist. When a dispute comes up four months later, nobody can find the right ones, they are mixed in with twenty other jobs, and the tech who took them may not even work for you anymore. The photos need to live on the job itself, tied to the customer and address, where anyone in the office can pull them up in seconds.
| Where photos live | Can the office find them fast? | Survives an employee leaving? | Tied to the job and address? |
|---|---|---|---|
| Each tech's phone | No, someone has to ask and wait | No | No, mixed in with personal photos |
| A group text thread | Slowly, by scrolling | Partly | Only if someone typed the address |
| A shared drive with folders | Yes, if everyone names folders the same way | Yes | Only as good as the naming |
| The job record in your software | Yes, open the job and they are there | Yes | Yes, automatically |
In Revcore, crews add photos to the job from the field, and they sit next to the estimate, the signed contract, any change orders and the invoice. That matters because a dispute is rarely about one photo. It is about showing the whole story in order: what was agreed, what you found, what the homeowner approved, what you did and what was paid.
How do photos support change orders?
Change orders are where photo documentation pays for itself fastest. When a roofer finds rotted decking, a remodeler opens a wall and finds a failed drain, or an electrician finds aluminum branch wiring, the homeowner is being asked to spend more money on something they cannot see. A photo turns that from a sales pitch into a fact.
Here is an illustrative example. A roofing crew tears off and finds soft decking across part of the back slope. Without a photo, the office calls the homeowner at work and asks them to approve extra sheets of plywood, and the homeowner wonders whether they are being upsold. With a photo, the homeowner sees the rot, the change order lists the sheets and the price, and they sign and approve it from their phone before lunch. The same photo then sits on the job if anyone ever questions the invoice.
The pattern is the same in every trade: photograph the condition, write the change with the price, get the signature before the extra work, and keep all three together. Our guide to change orders covers pricing and collecting them in detail.
Can photos help you win a chargeback?
They can help, but go in with realistic expectations. When a homeowner disputes a card payment, their bank decides the outcome, and the processor can only pass along your evidence. Processors' own dispute guidance says it is very difficult to overturn a disputed payment even in the most favorable cases, and that after fraud, the most common reasons are claims that a service was not delivered, was unsatisfactory or was not as described.
Those last three reasons are exactly what job photos answer. The same guide recommends organizing evidence in chronological order, including a signed contract, relevant customer communication and clear, legible images, and keeping the response short and specific to the reason for the dispute. For a contractor, a strong response usually looks like this:
- The signed estimate or contract showing the agreed scope and price.
- Any signed change orders, each with the photo of the condition that caused it.
- Before photos showing the original condition.
- Hidden work and after photos showing the work was completed as described.
- The texts or emails where the homeowner confirmed the schedule, approved work or acknowledged completion.
When all of that already sits on one job record, building the response takes minutes instead of an afternoon of chasing techs for photos. If you are weighing how card disputes compare with bank payments, see card vs ACH for contractors.
How do you get crews to take photos every time?
The only way documentation works is if it happens on every job, not just the jobs that feel risky. The jobs that go wrong are rarely the ones anyone expected to go wrong. Here is how owners make the habit stick without nagging:
Keep the list short
Give each crew the four moments and a trade shot list of six to ten photos. A list nobody can remember is a list nobody follows.
Make it a step, not a suggestion
Build photos into how a job starts and closes. No job starts without before photos, and no job gets marked complete without hidden work and after photos attached.
Check it in the morning
Look at yesterday's closed jobs during your daily review. A quick 'where are the flashing photos on yesterday's reroof' each morning fixes the habit within a few weeks.
Show the crew the win
When photos settle a callback or save a change order, tell the team. People keep doing things they can see paying off.
Use the photos for good things too
Share strong before and after shots in proposals, reviews and your website. Crews take better photos when they know their work will be shown off.
If you already run a morning huddle, add the photo check to it. Our post on the morning routine for multi-crew operations shows where it fits.
Frequently asked questions
How many photos should a contractor take on each job?
Fewer than you think, as long as they are the right ones. A short list of six to ten shots covering the before condition, the work before it is covered, any scope changes and the finished job protects most residential jobs. Larger remodels and roofs need more, mainly more hidden work shots.
Should I take before photos with the homeowner present?
It helps. Walking the area with the homeowner and pointing out existing damage while you photograph it means there is no surprise later. If they are not home, take the photos anyway and mention anything notable in a text so the record includes that they were told.
How long should contractors keep job photos?
At least as long as your workmanship warranty and any period in which a homeowner could bring a claim, which varies by state. Many contractors simply keep photos for the life of the customer record, since storage is cheap and a question can come up years later.
Do job site photos help with warranty claims?
Yes. Photos of the installed product, its labels and serial numbers, and the installation details that the manufacturer cares about make it far easier to show the product was installed properly when a warranty question comes up, and they help you separate a product defect from an installation issue.
Can job photos be used as proof in a credit card chargeback?
Yes, as part of a larger response. Card issuers look at the signed contract, proof the service was delivered and relevant communication. Before, hidden work and after photos, organized in date order with the signed paperwork, are strong proof that the work was done as agreed.
Further reading: for the paperwork that sits next to your photos, see change orders and deposits, draws and stage payments.
Written by the Revcore team. Reviewed by Hayden Mitchell, founder of Revcore Pro, who closed $3.5M of home improvement door to door and helped scale a contractor from $1M to $10M.